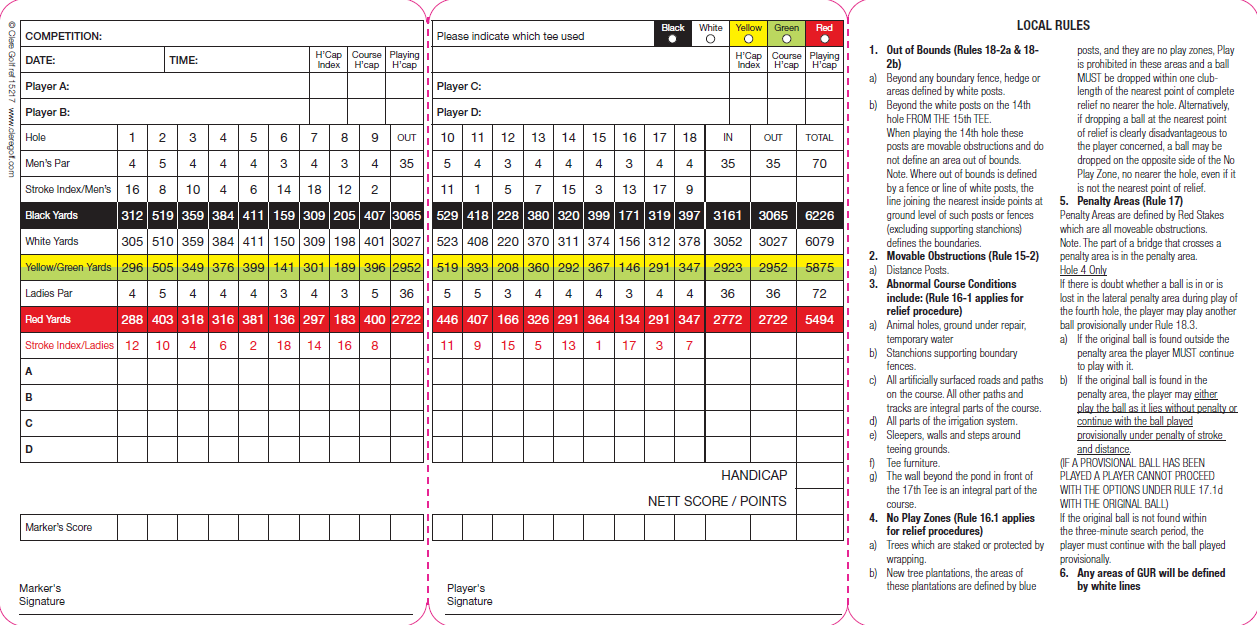
View Scorecard
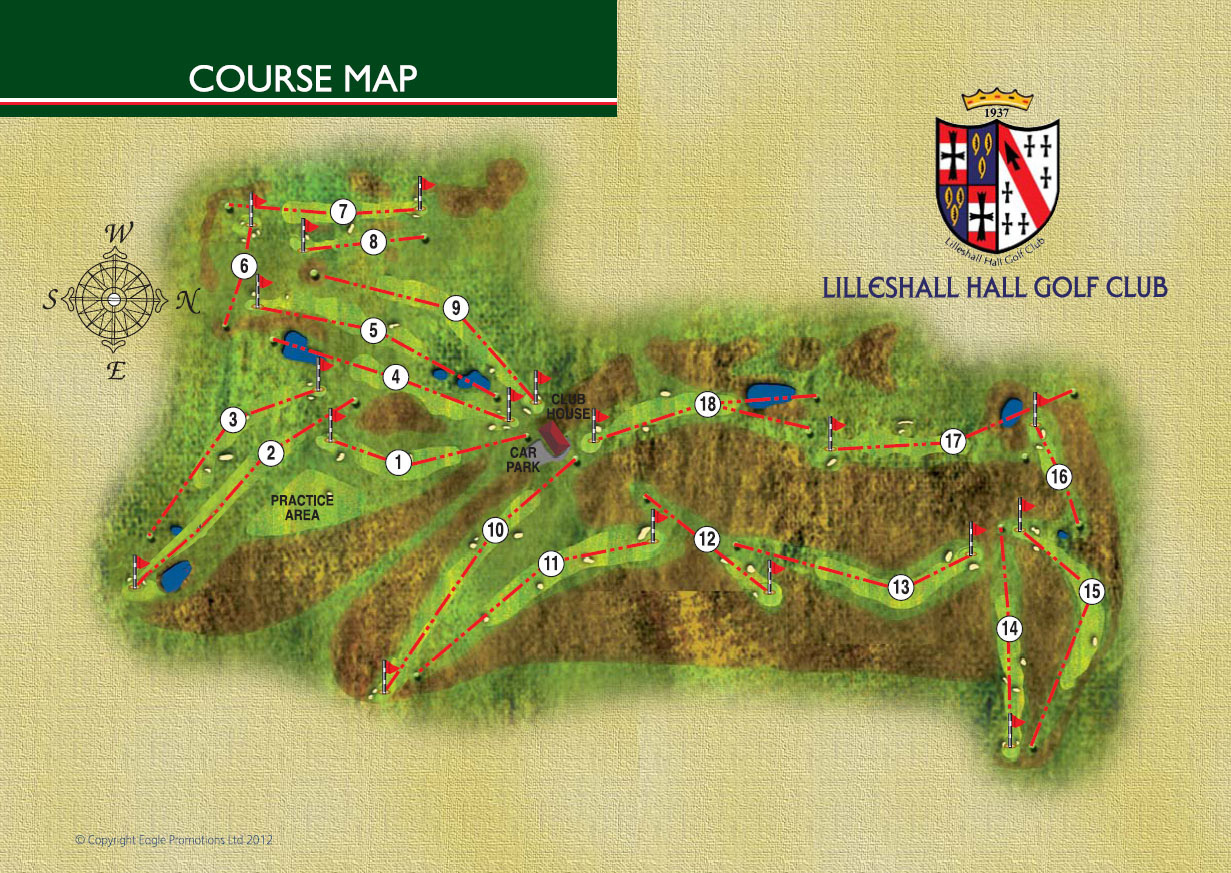
View Course Map

It’s a real pleasure to share some of my tips with you and as a real golf buff it also gives me great pleasure to be the pro at a Harry Colt designed golf course, that although has changed a little over time still provides so much of Colts legendary design characteristics. I hope you enjoy these tips and as Colt said about strategy and course management “I want players to be thinkers, who can plot their way around a course’ so hopefully these tips may help you.
The Course
Hole 1
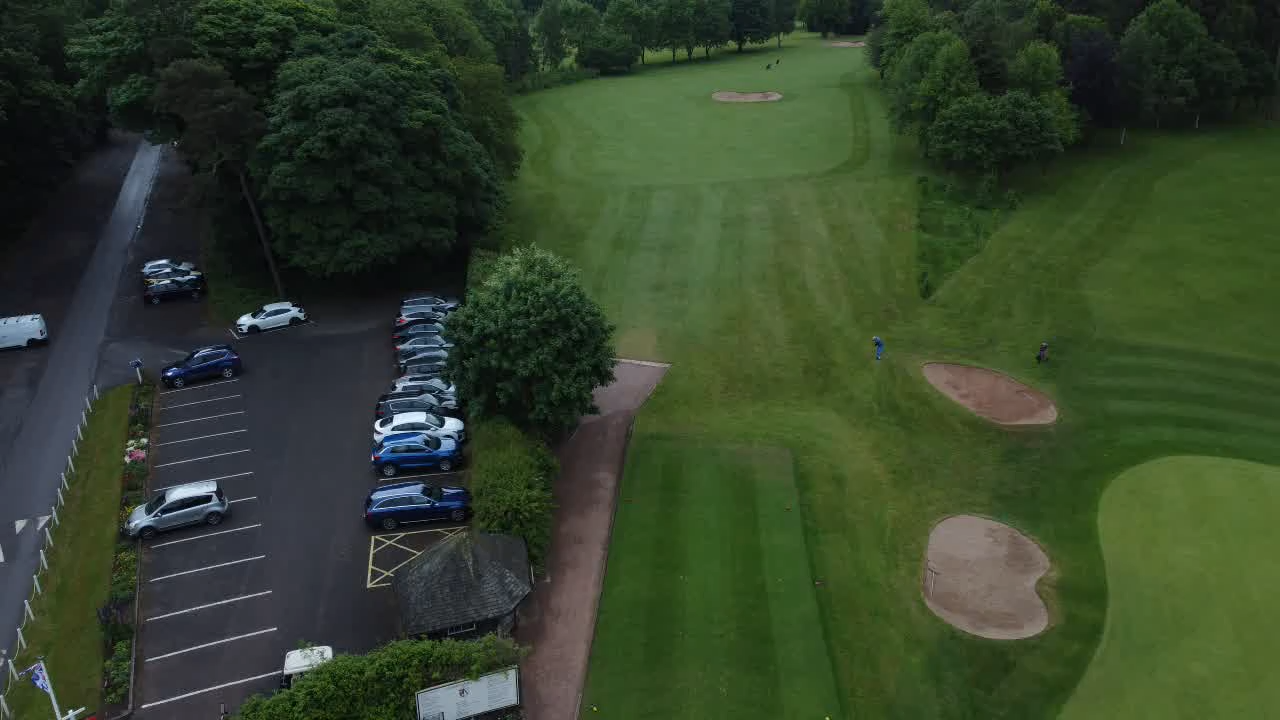
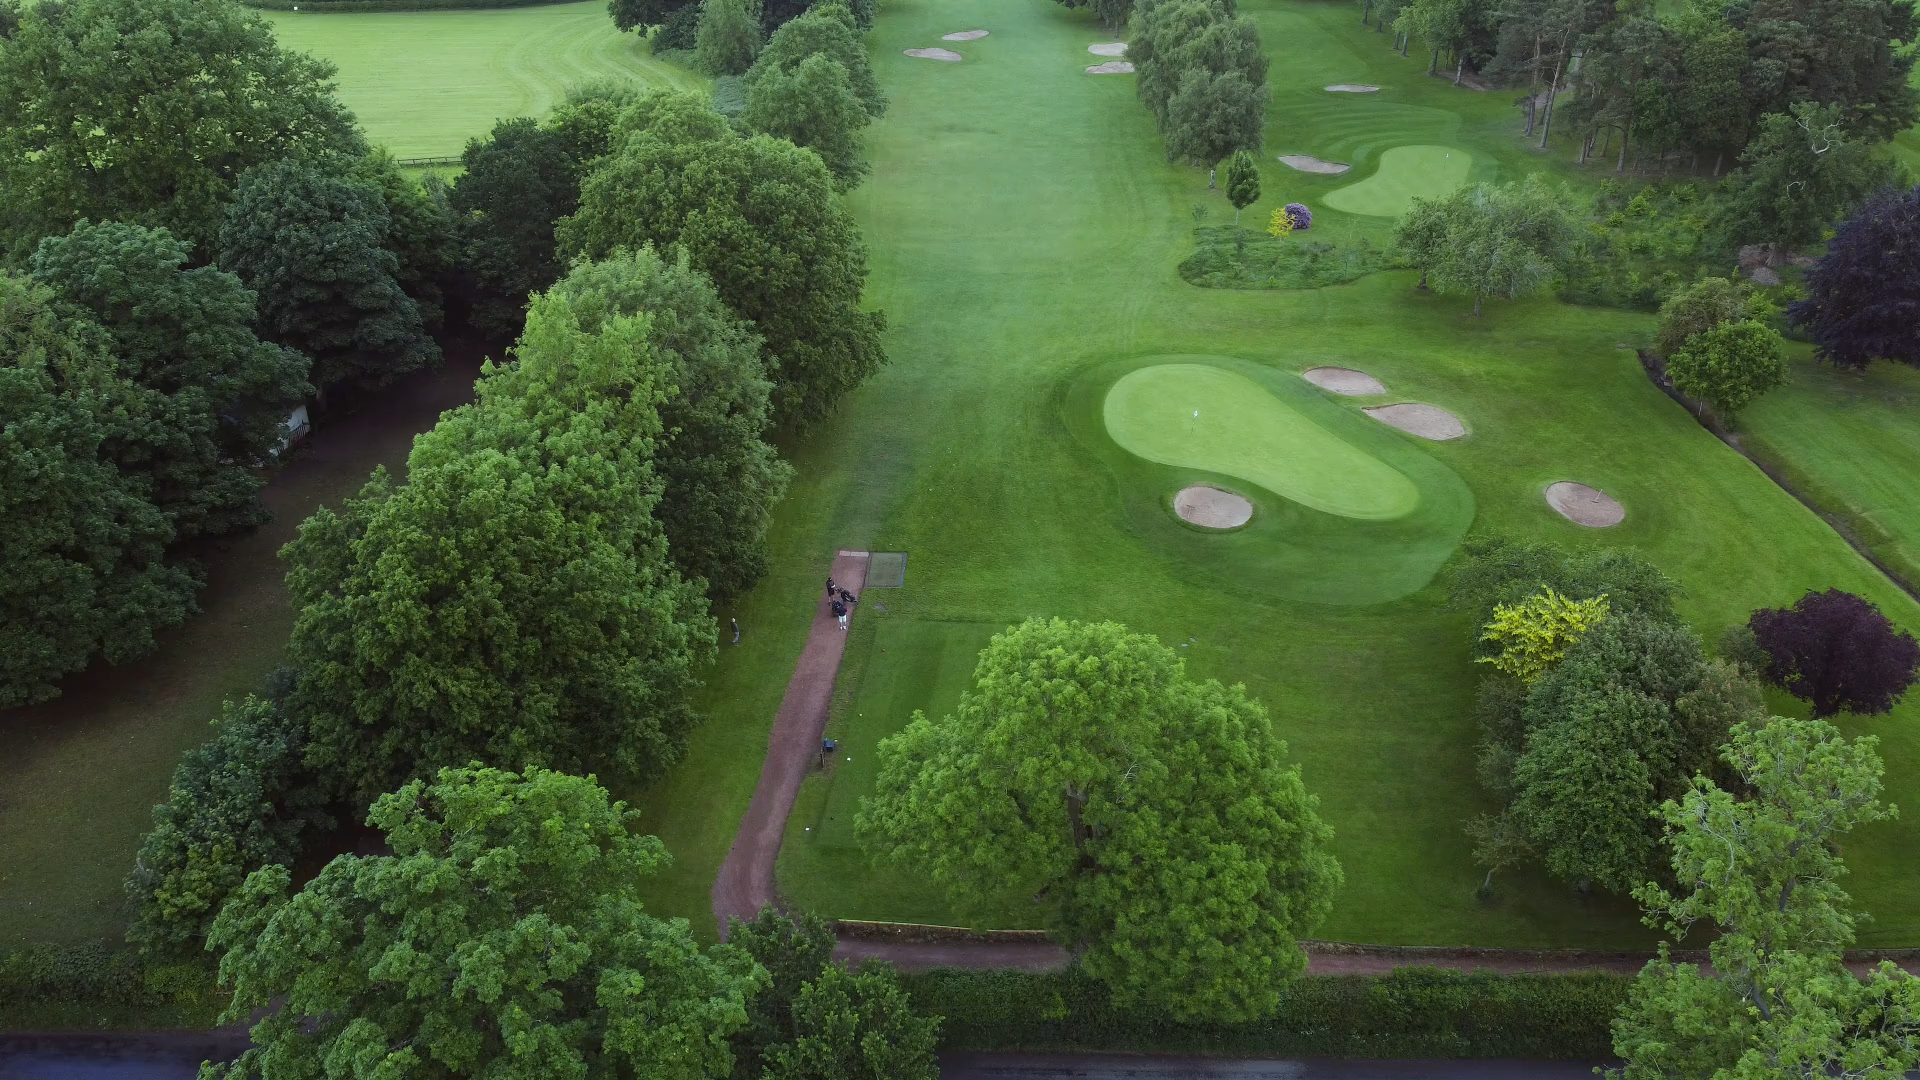
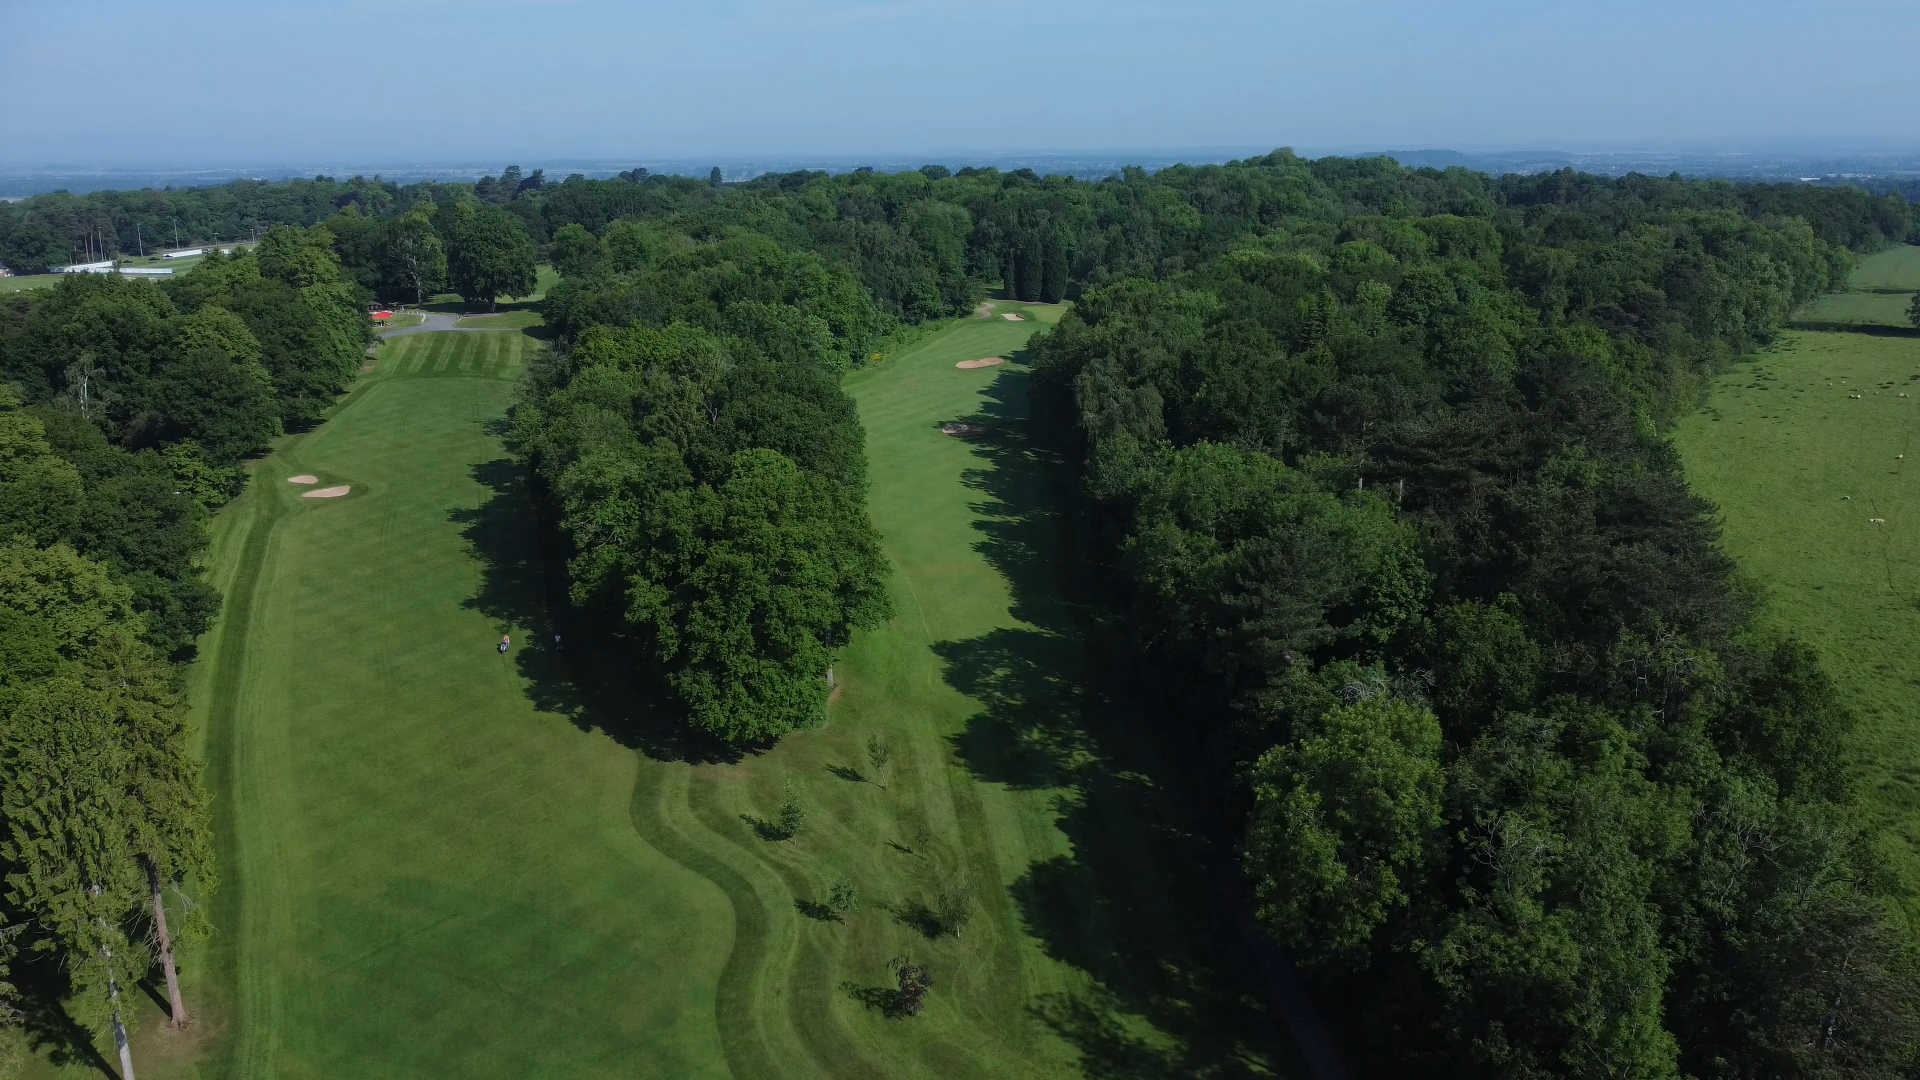
Pros Tips: Colt believed that the first hole should be a fairly comfortable hole so that all players can get away easily, this rings fairly true on our first hole with a slight dog-leg right that for the longer drivers of the ball the green is reachable from the tee.
For everyone else find the fairway over the right side of the middle bunker and make sure your shot is on the right side of the flag as the green is quick front to back and right to left as you approach it.
Hole 2
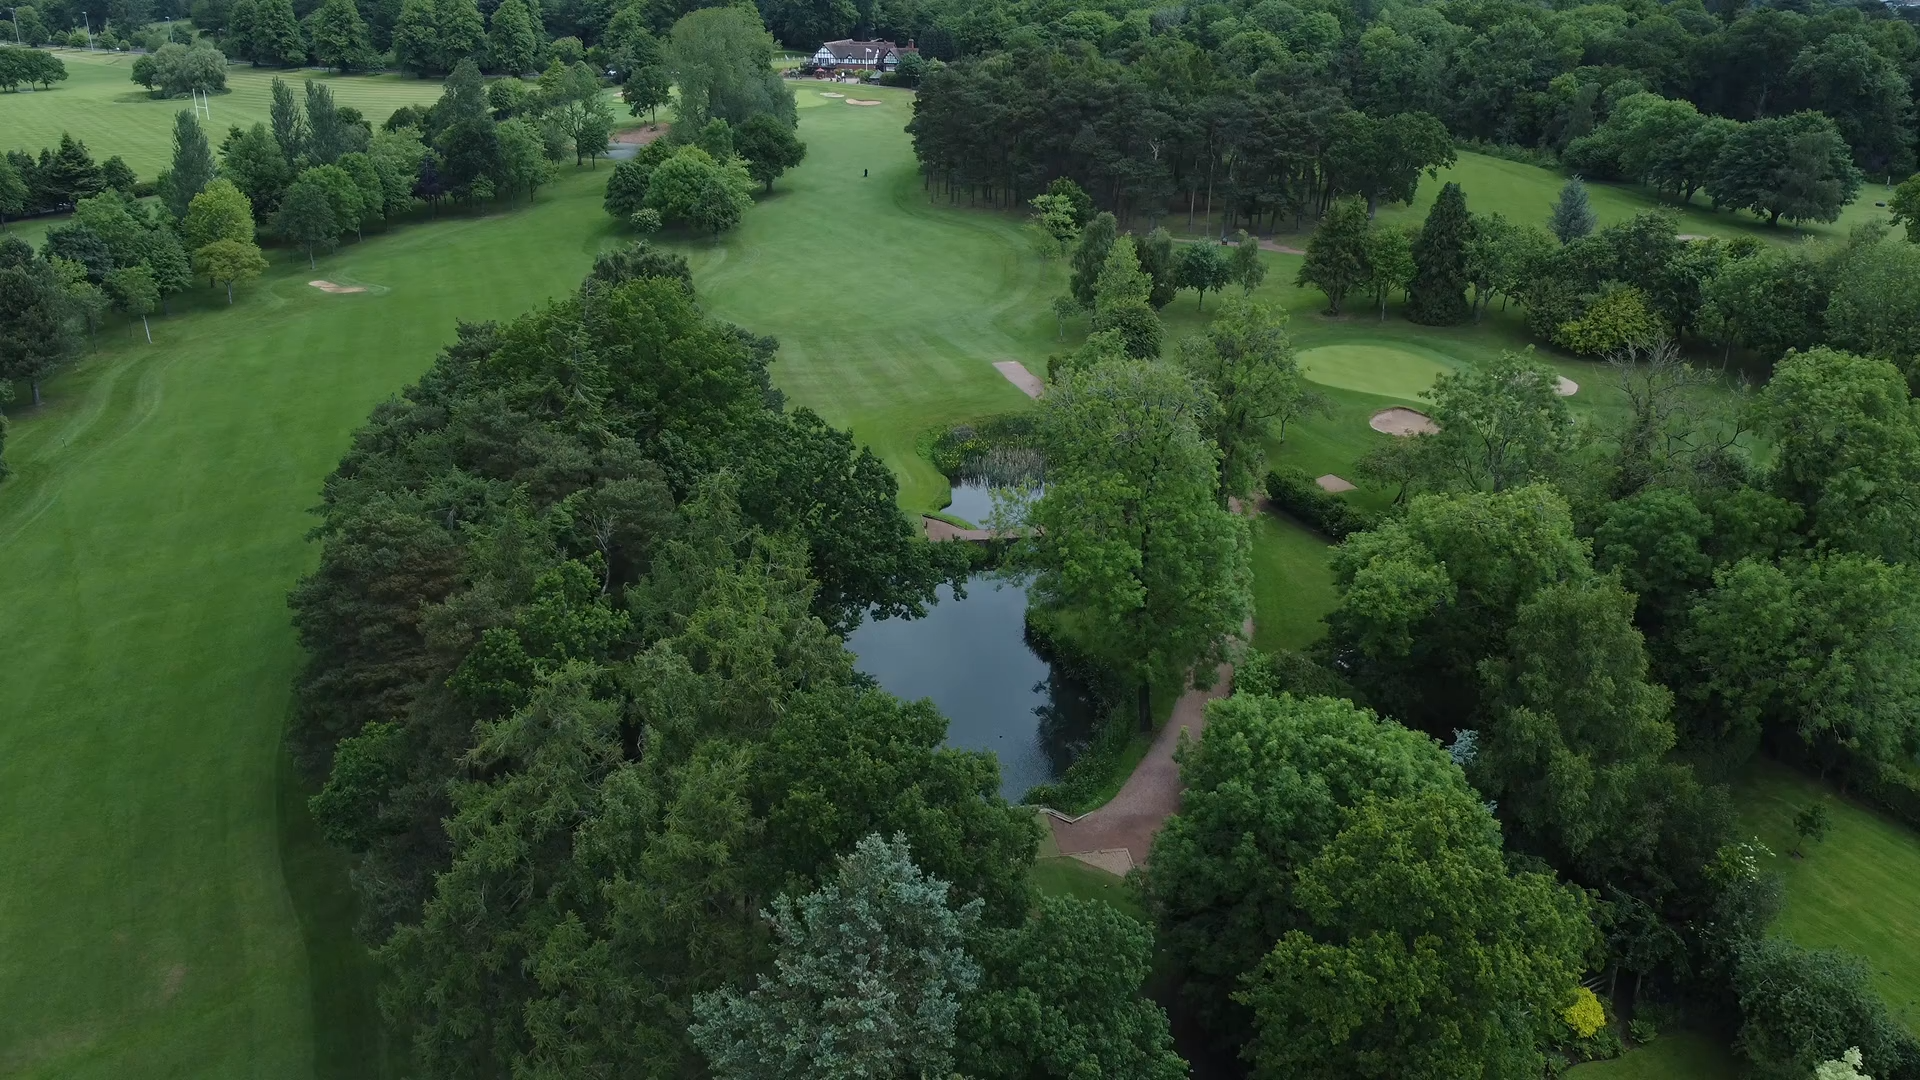
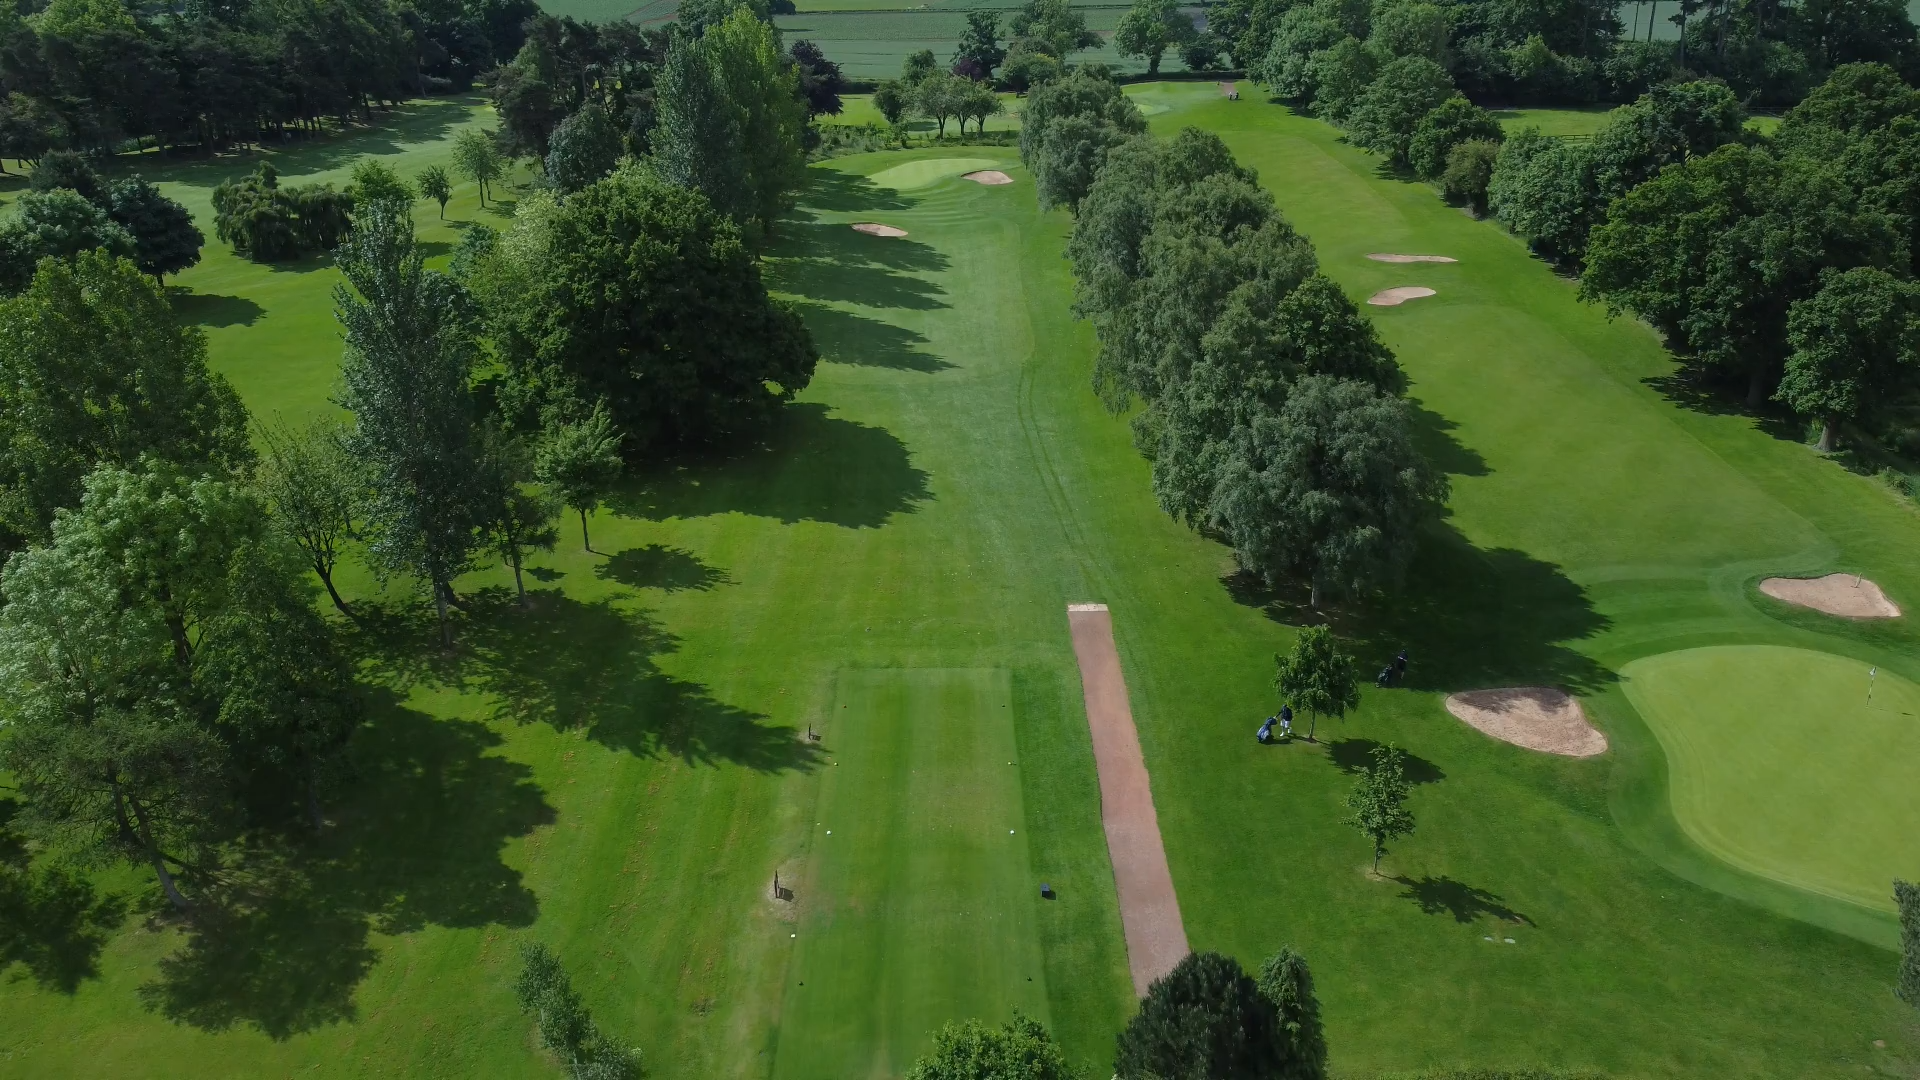
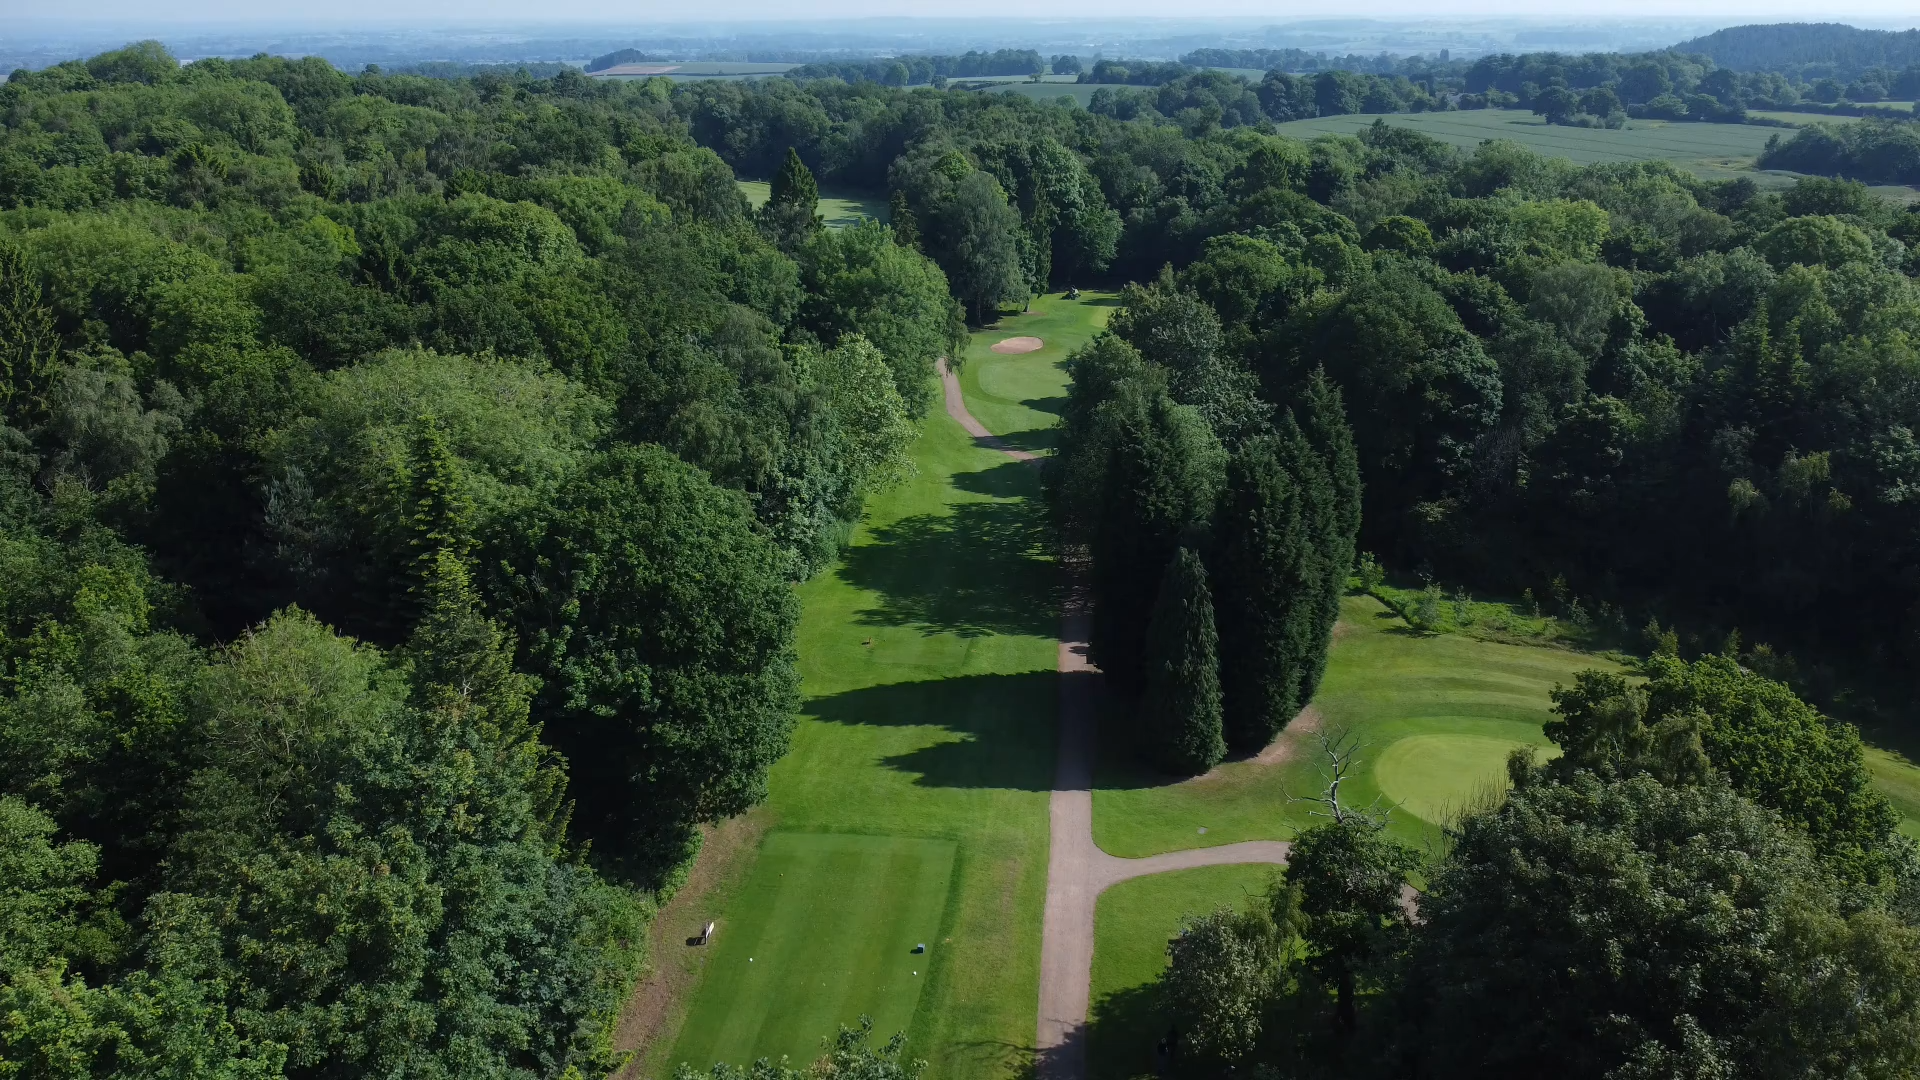
Pros Tips: A Wonderful Par 5 that has a demanding tee shot, that if struck true and long may see you have a chance of getting up in two although water lurks left for any short shot making it a very good risk and reward par 5
Hole 3
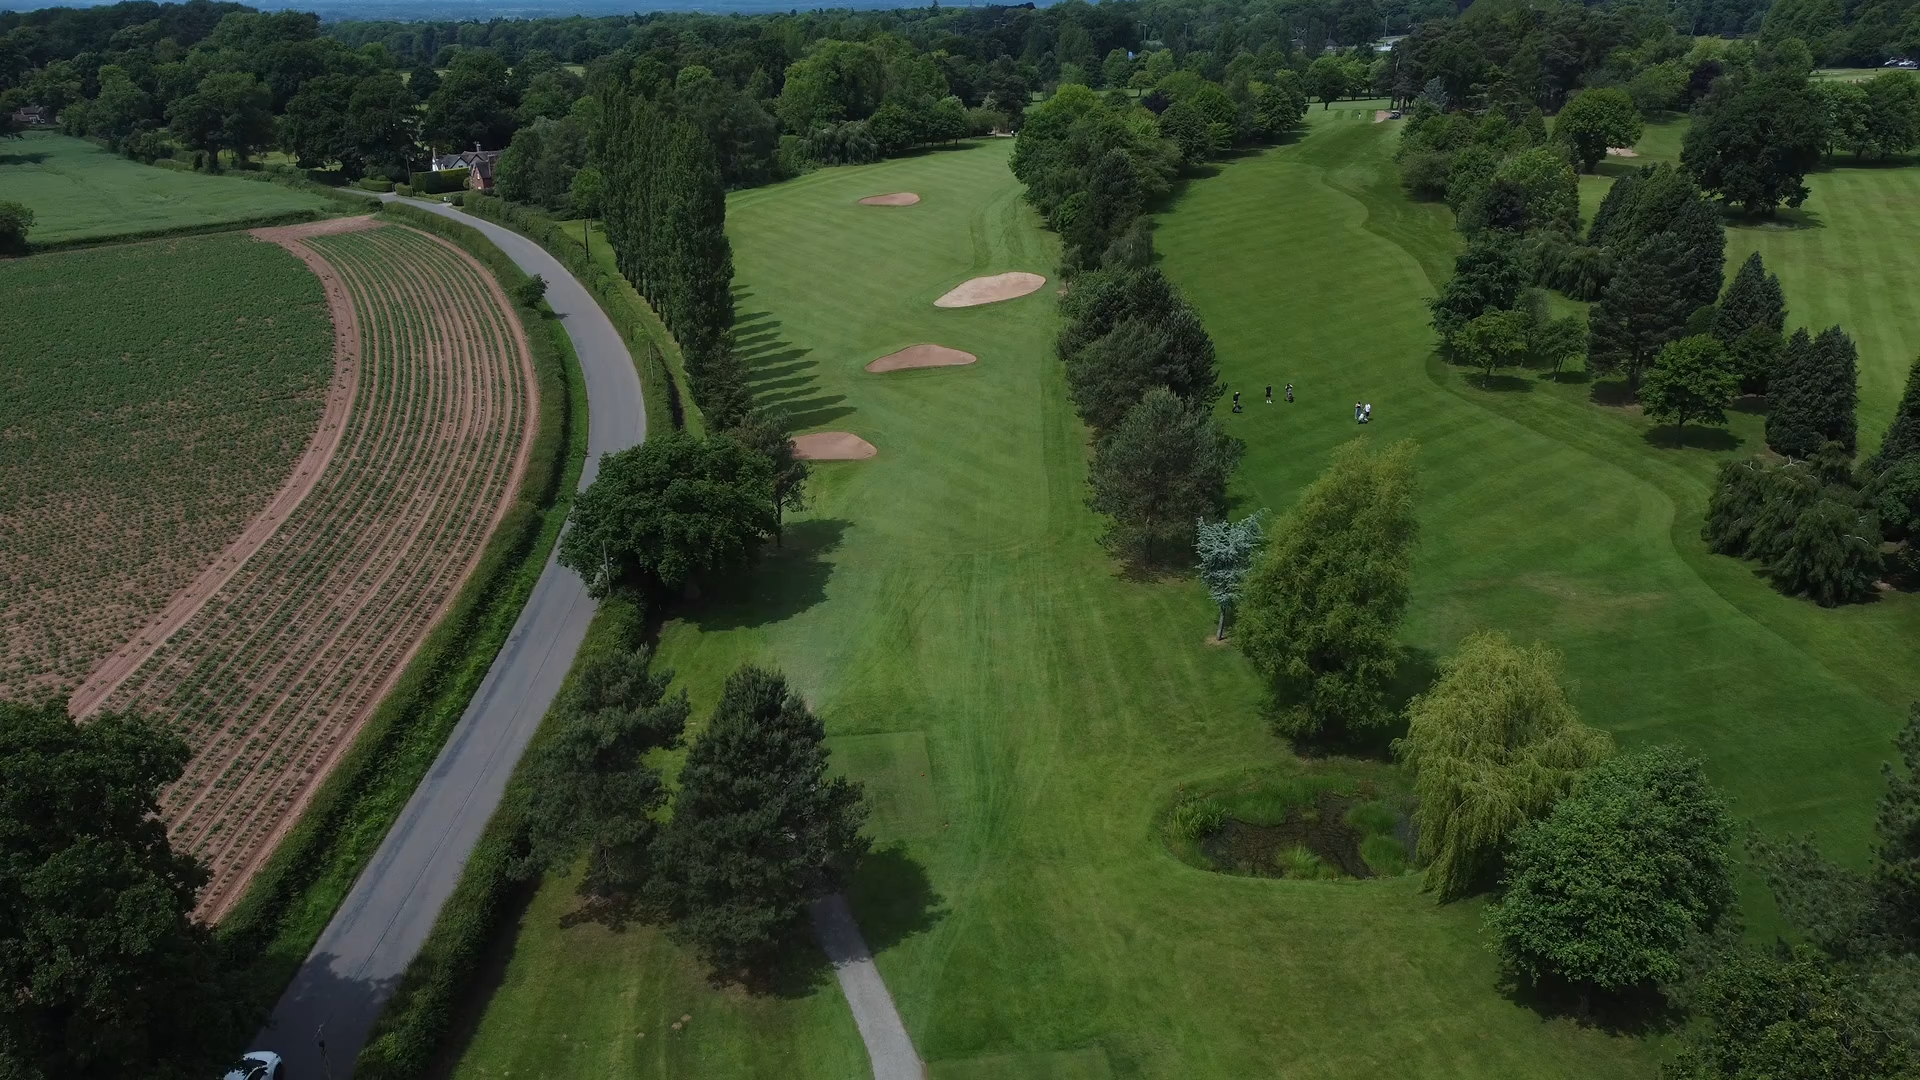
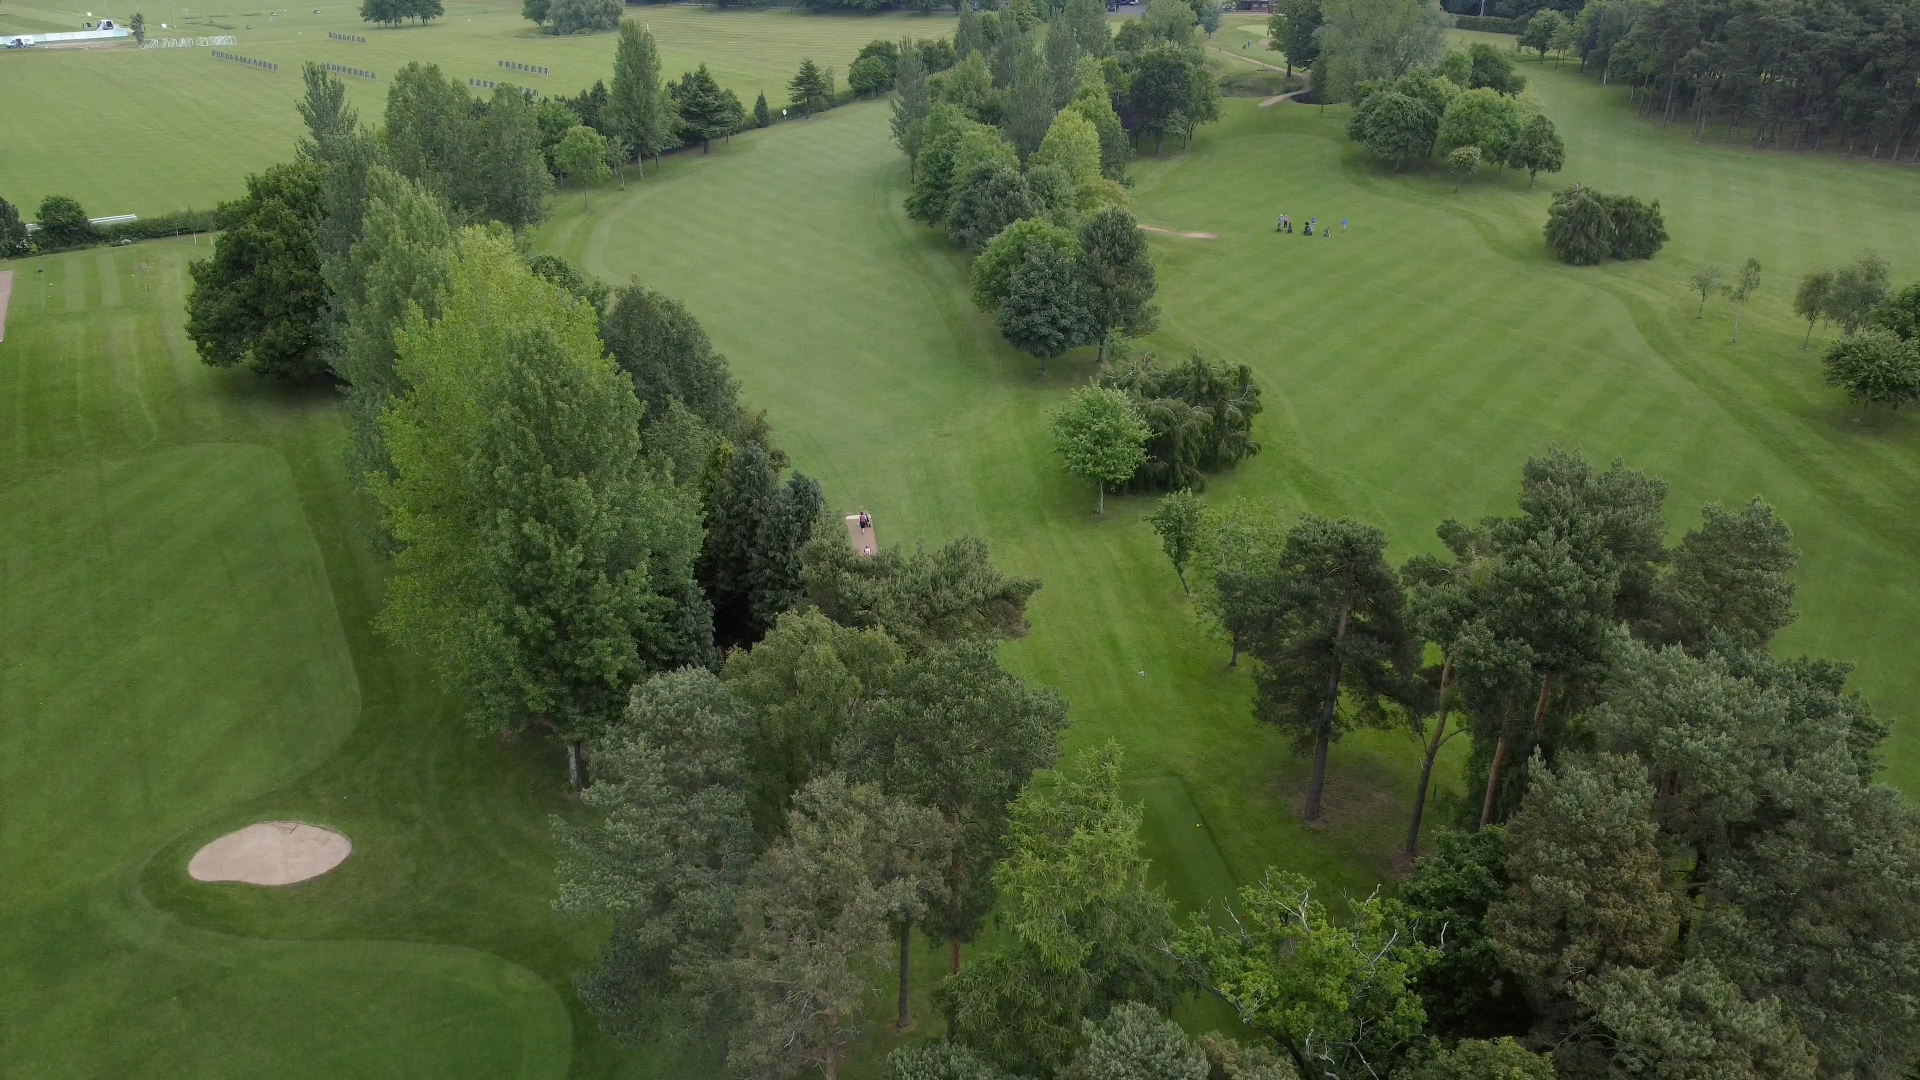
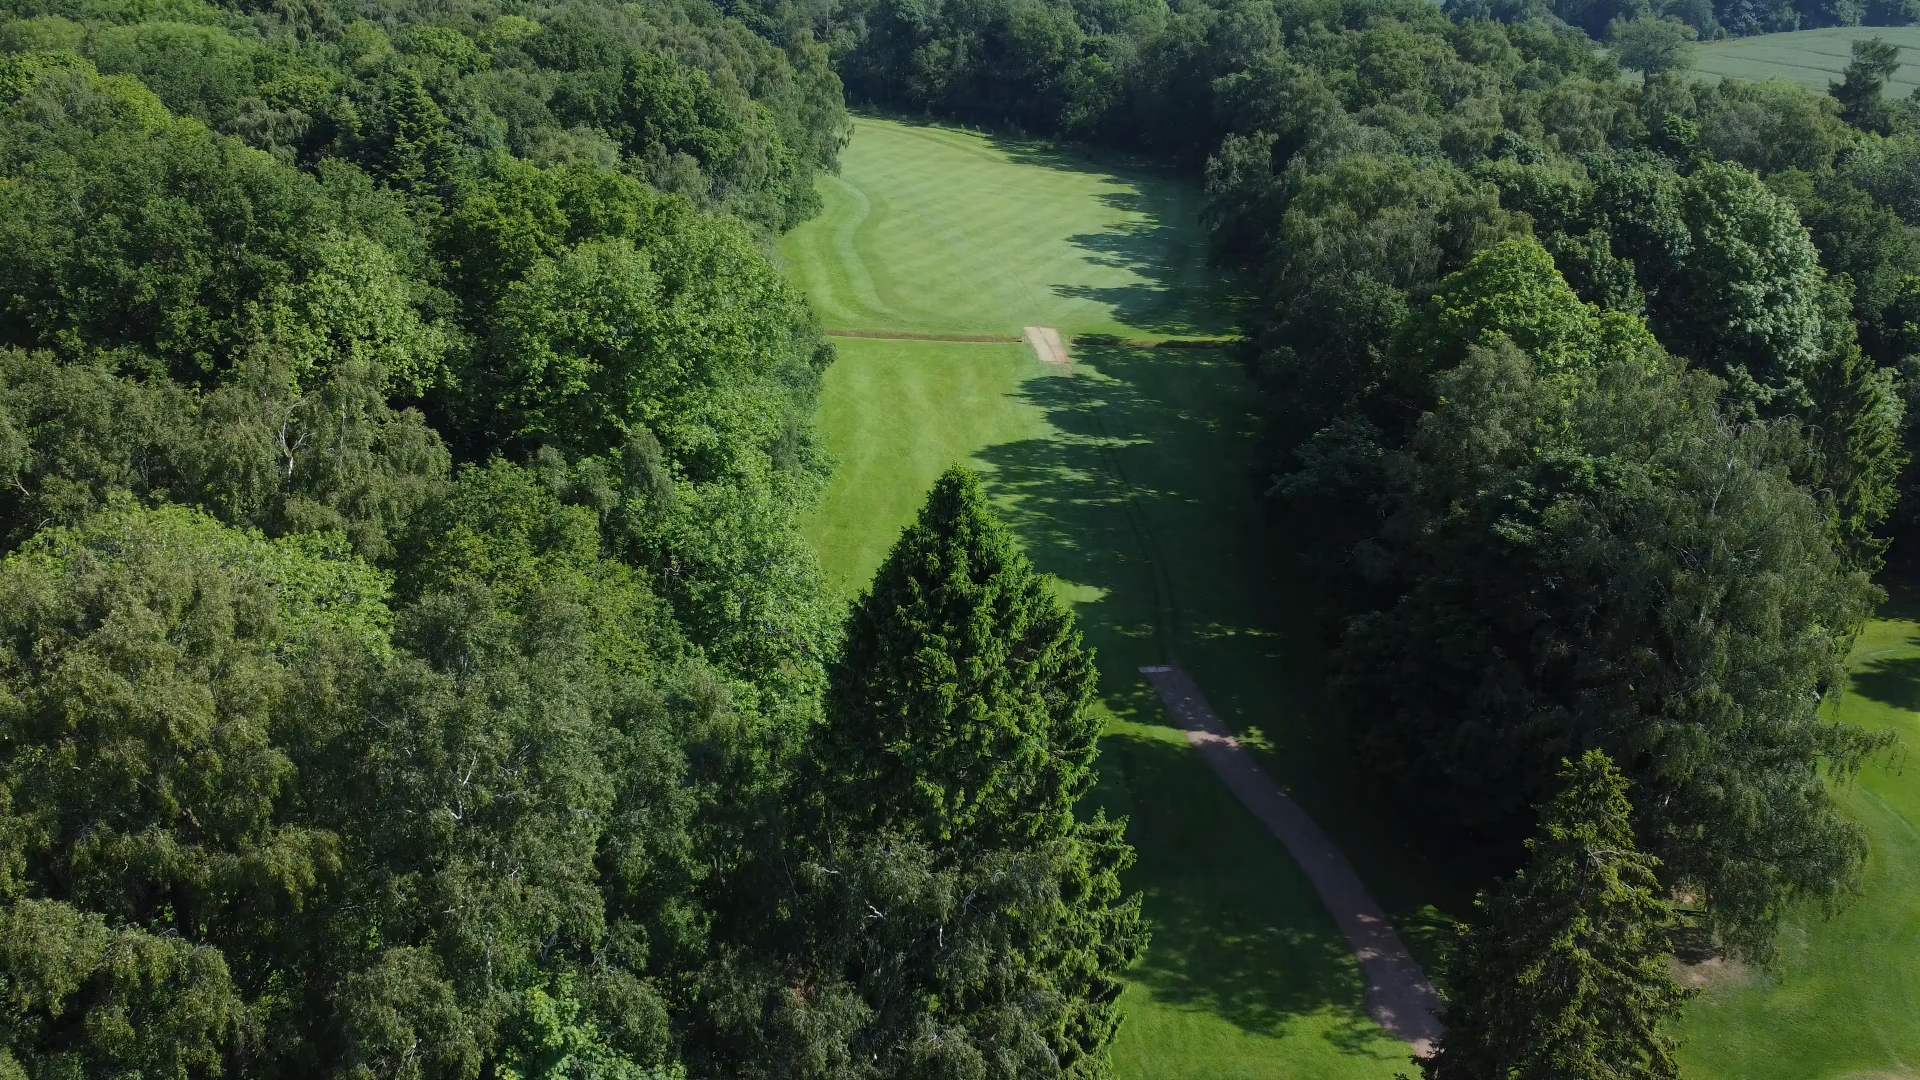
Pros Tips: A real feature of Colt design is the bunkers that sit across the fairway.
Carry these and try to be to the right side of the bunker in the middle of the fairway at the top of the hill to give you the best chance of a good angle to the green.
The green slopes from right to left on your approach.
Hole 4
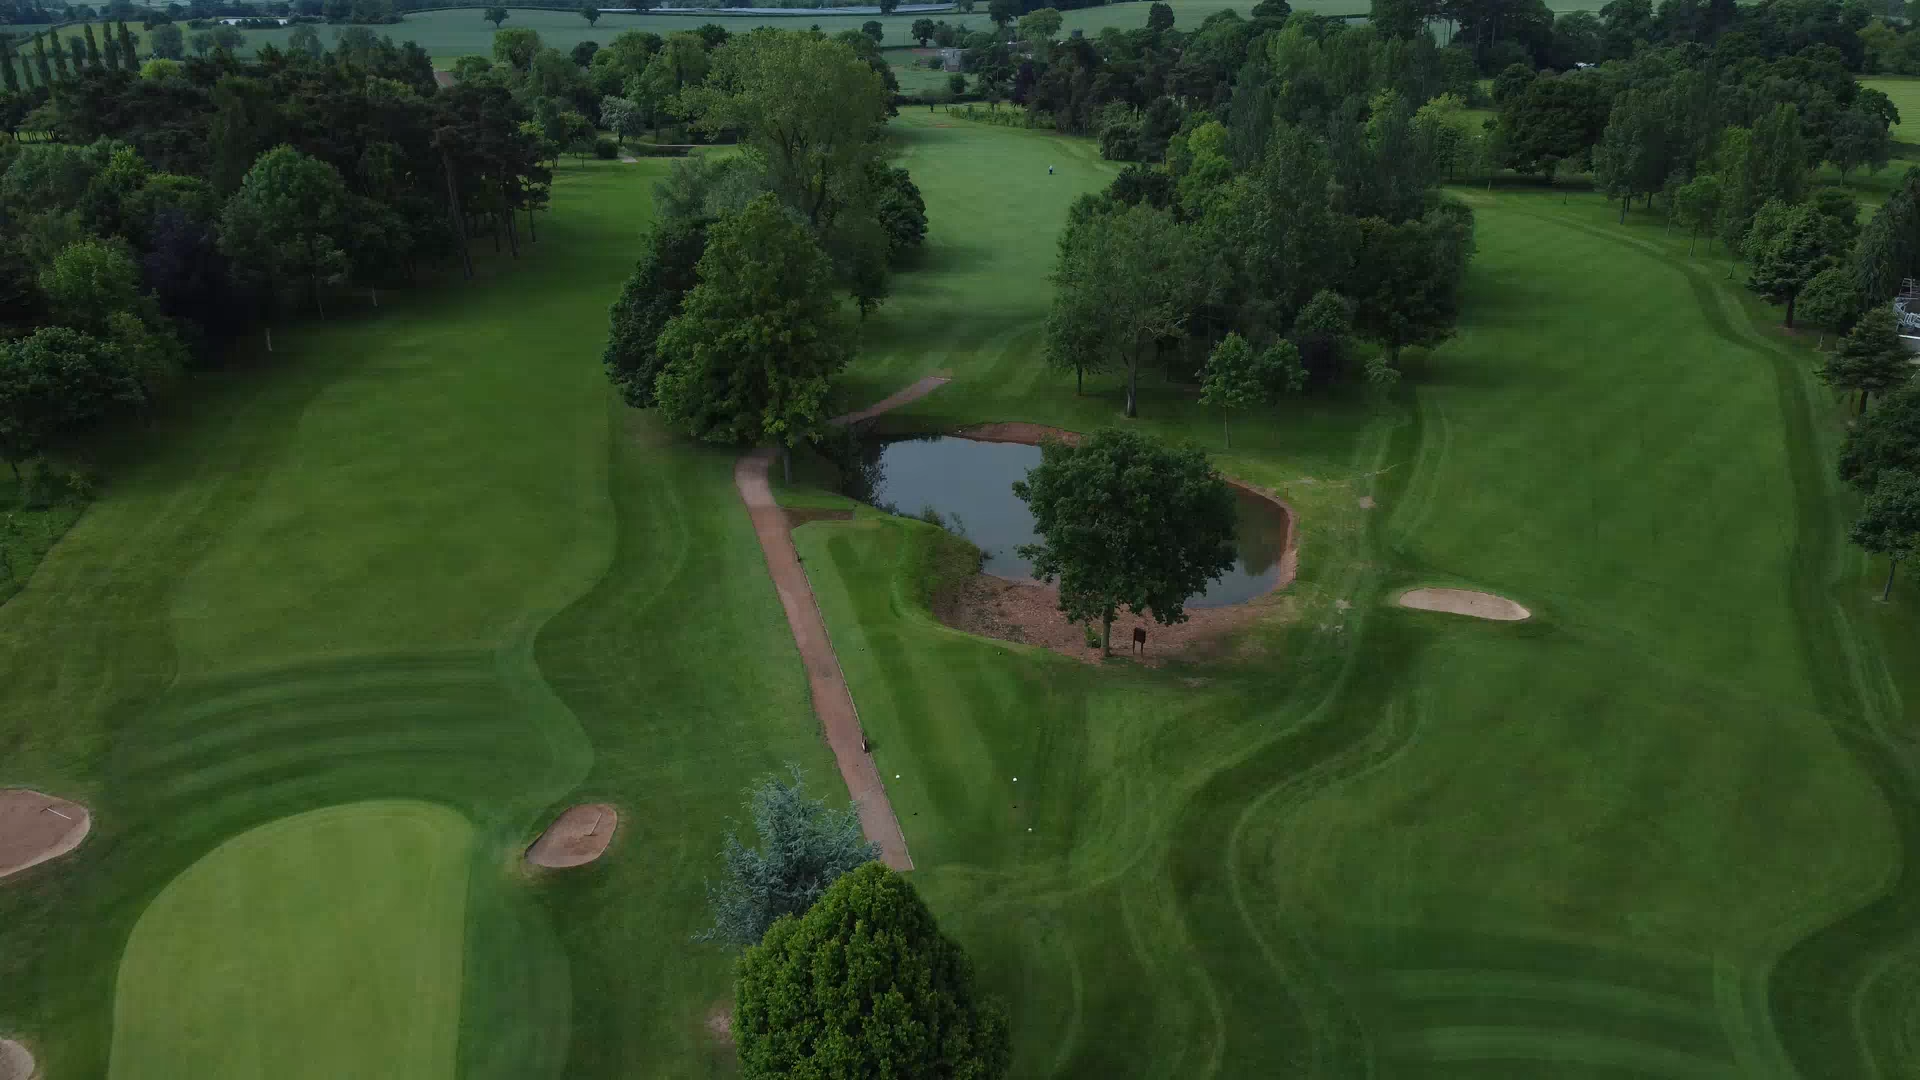
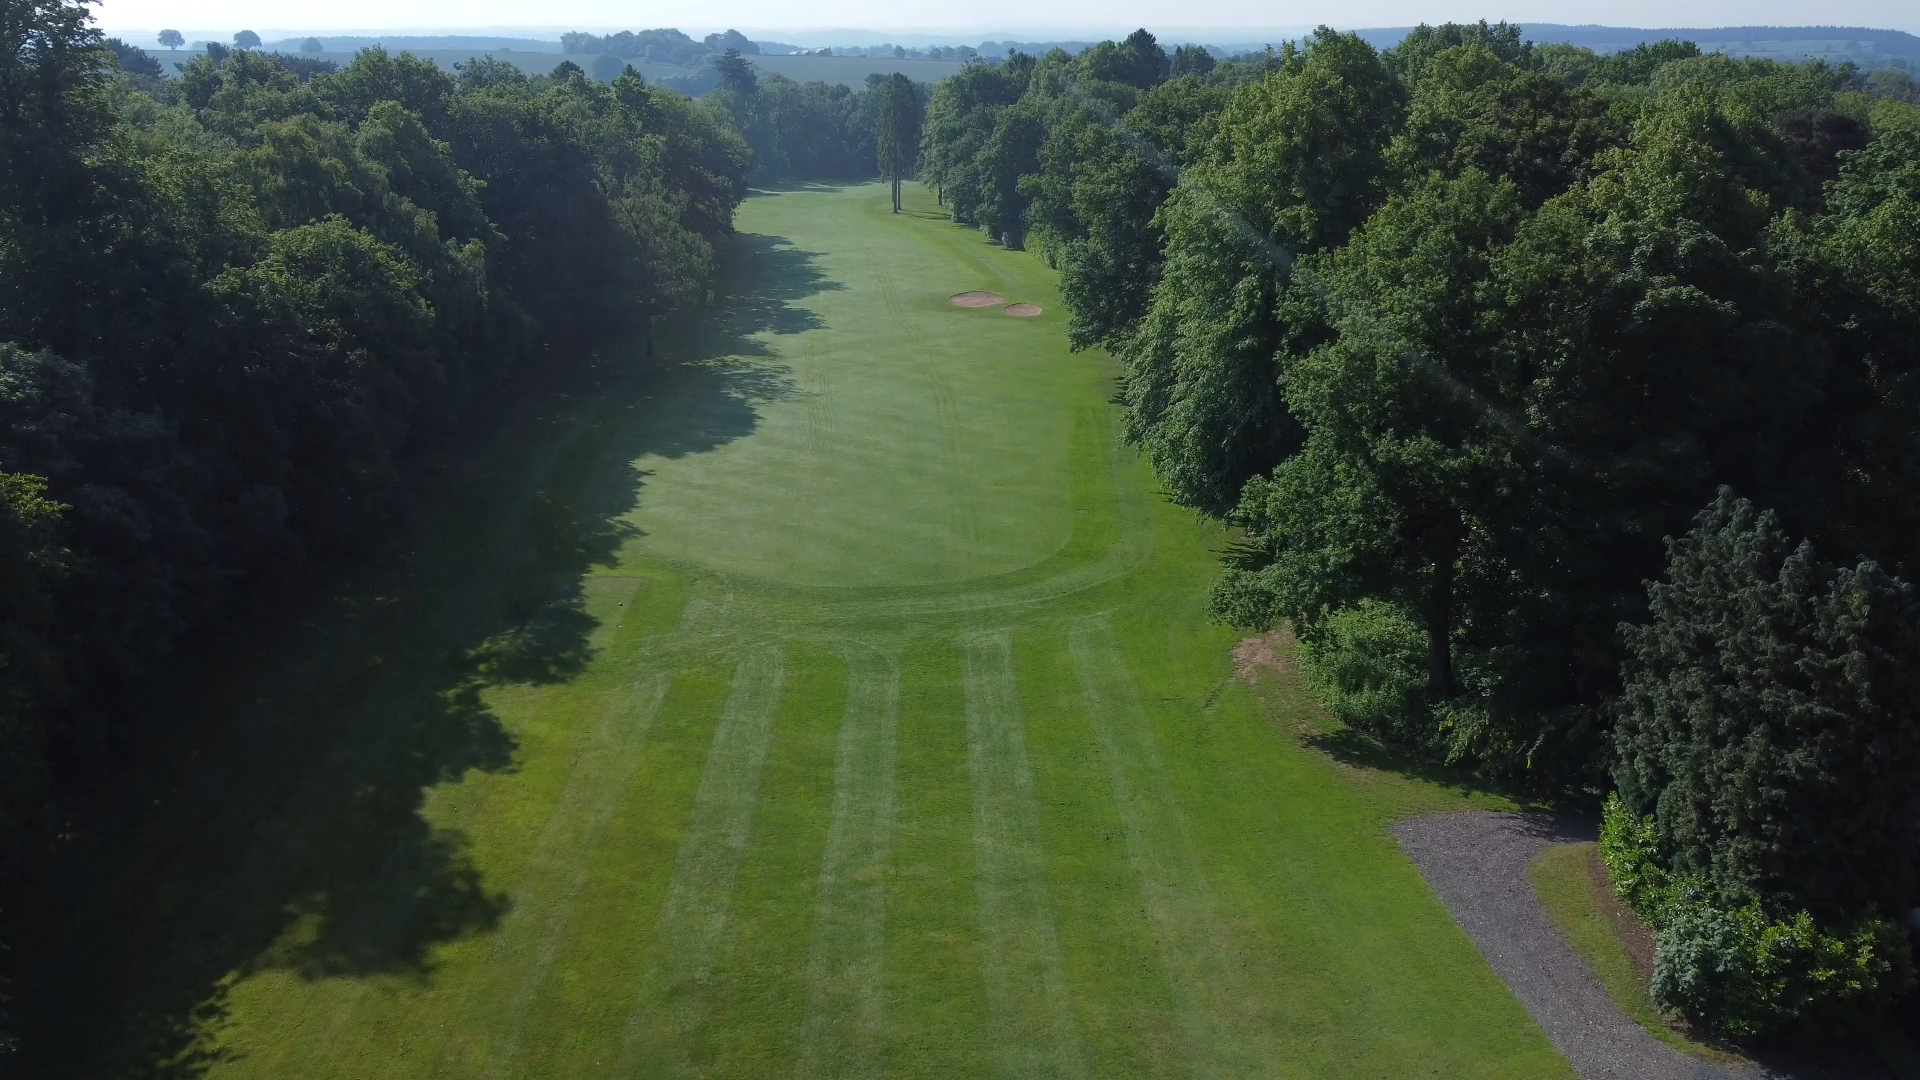
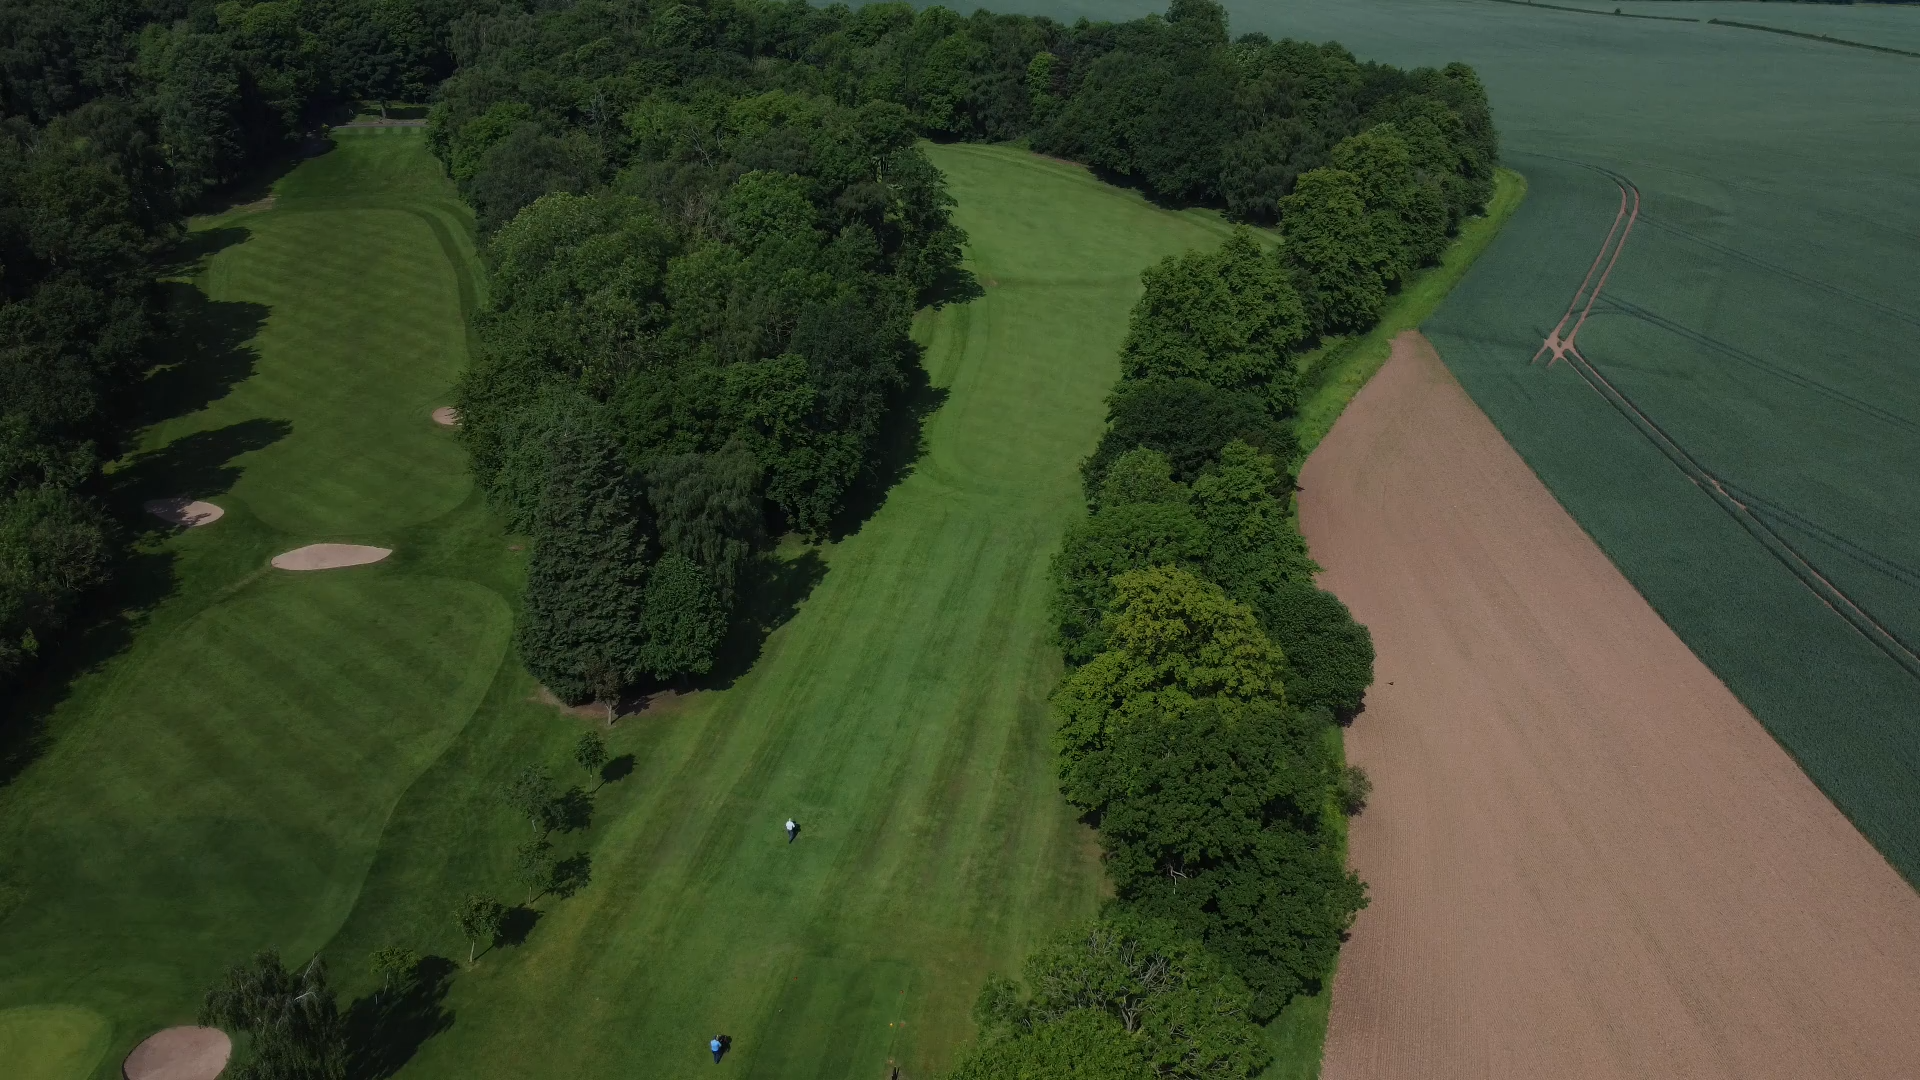
Pros Tips: I love the tee shot on this hole and think it’s such a great looking golf hole.
The tee shot is demanding and if you get a good shot away then be aware of the sloping green from right to left. Get the club right for your approach as it is a long slim green.
Hole 5
Pros Tips: A great tee shot to open your shoulders on. To a generous fairway that you ideally want to be on the right hand side of to give yourself the best chance of hitting the green.
Hole 6
Pros Tips: Colt was a master of the short holes and this one doesn’t disappoint.
Get you club right here to avoid the deep bunkers at the front of the green.
Hole 7
Pros Tips: A short hole that is another excellent risk and reward hole, take driver and hit it well a birdie putt may follow but with out of bounds left and trees to the right you need to be straight.
Hole 8
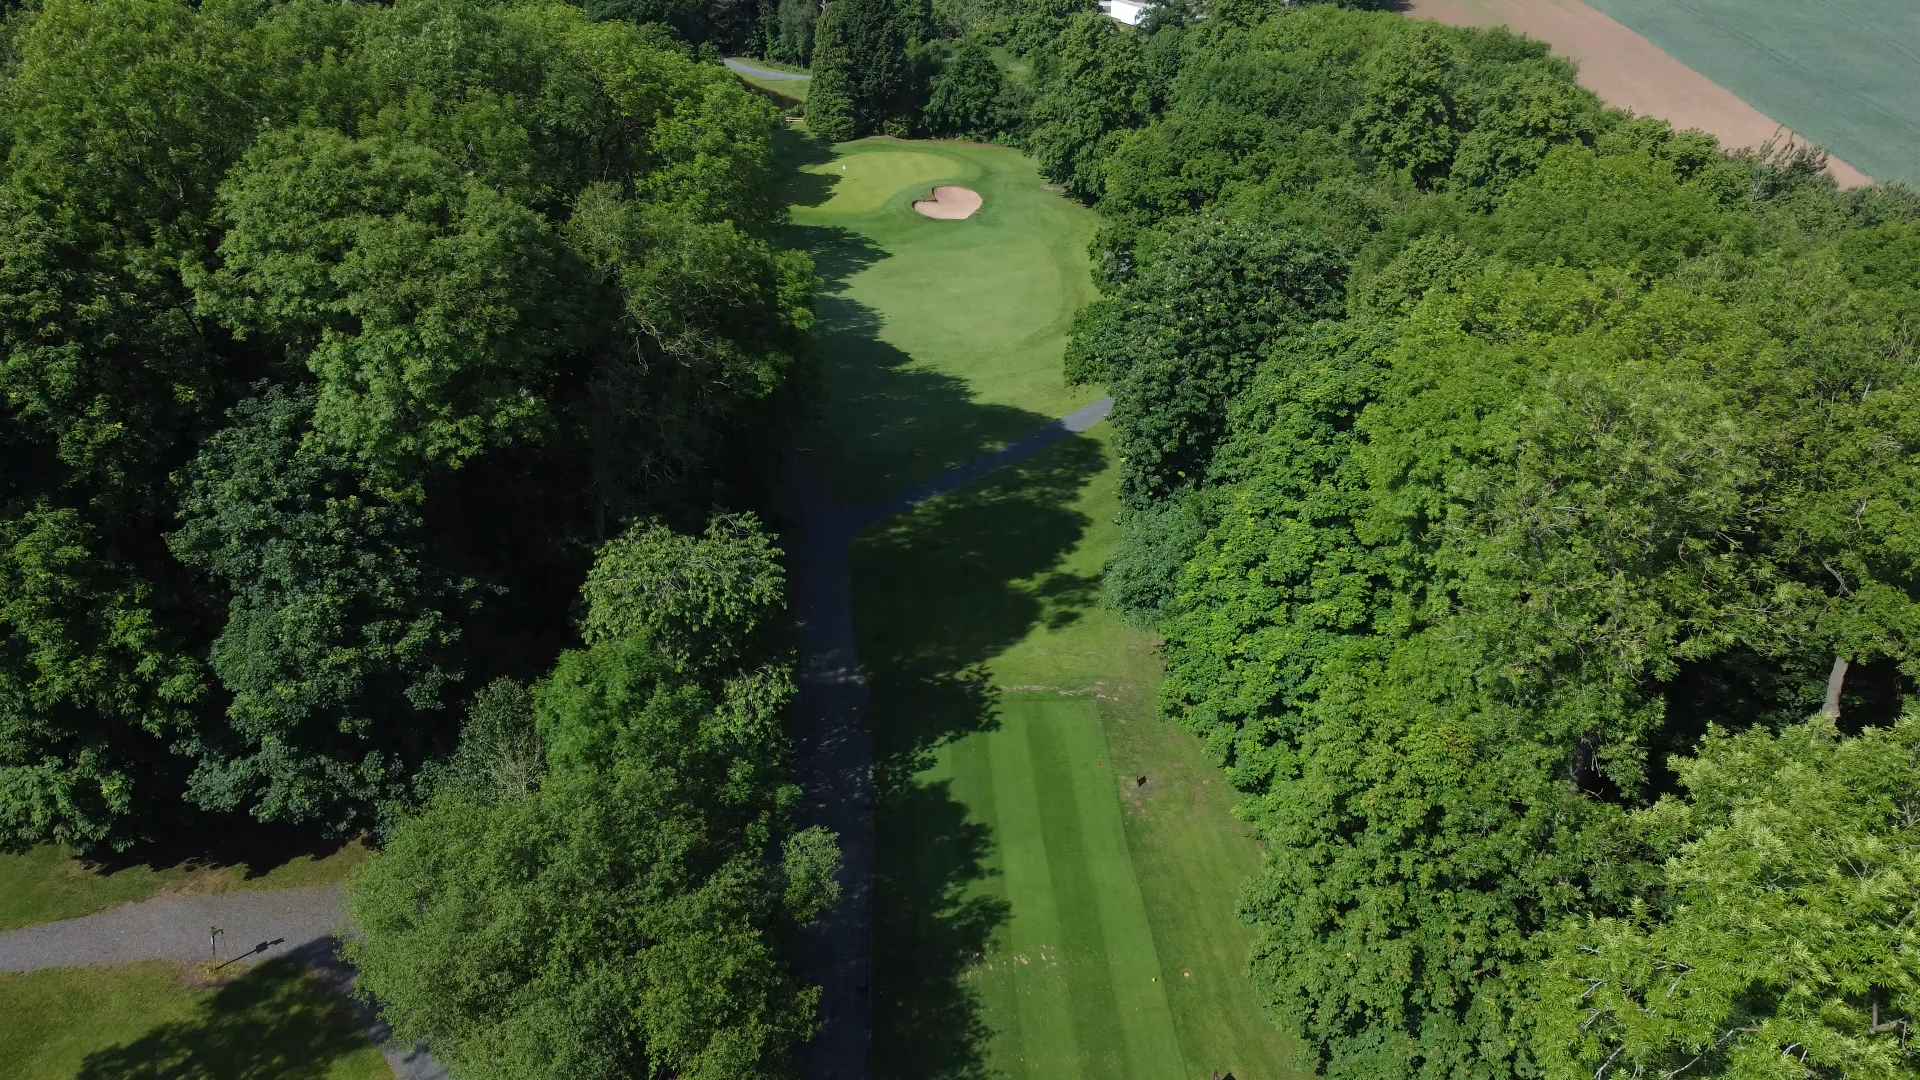
Pros Tips: A good solid par 3 that requires a good long shot to get to the green. The bunker left is short of the putting green but if you carry over this the ball then runs quickly down towards the green.
Hole 9
Pros Tips: A long dog-leg right, if you are a big hitter then carrying the corner can set up the hole but be warned to straight and out of bounds waits far left of the dogleg.
If not play for the corner before hitting a long shot up to a green that slopes a lot from back to front so picking the right club for your shot in is vital as you ideally do not want to be putting back down this green.
Hole 10
Pros Tips: A strong par 5 that requires a very good tee shot down the left half of the fairway to help you to negotiate the severe dog-leg right, manage this and you will be left to a straight forward pitch shot to the green.
Hole 11
Pros Tips: Slight dog-leg right. A positive tee shot is required, but watch out for Barry’s Bunker. A long second shot to a green that slopes from left to right and a bunker front left.
Hole 12
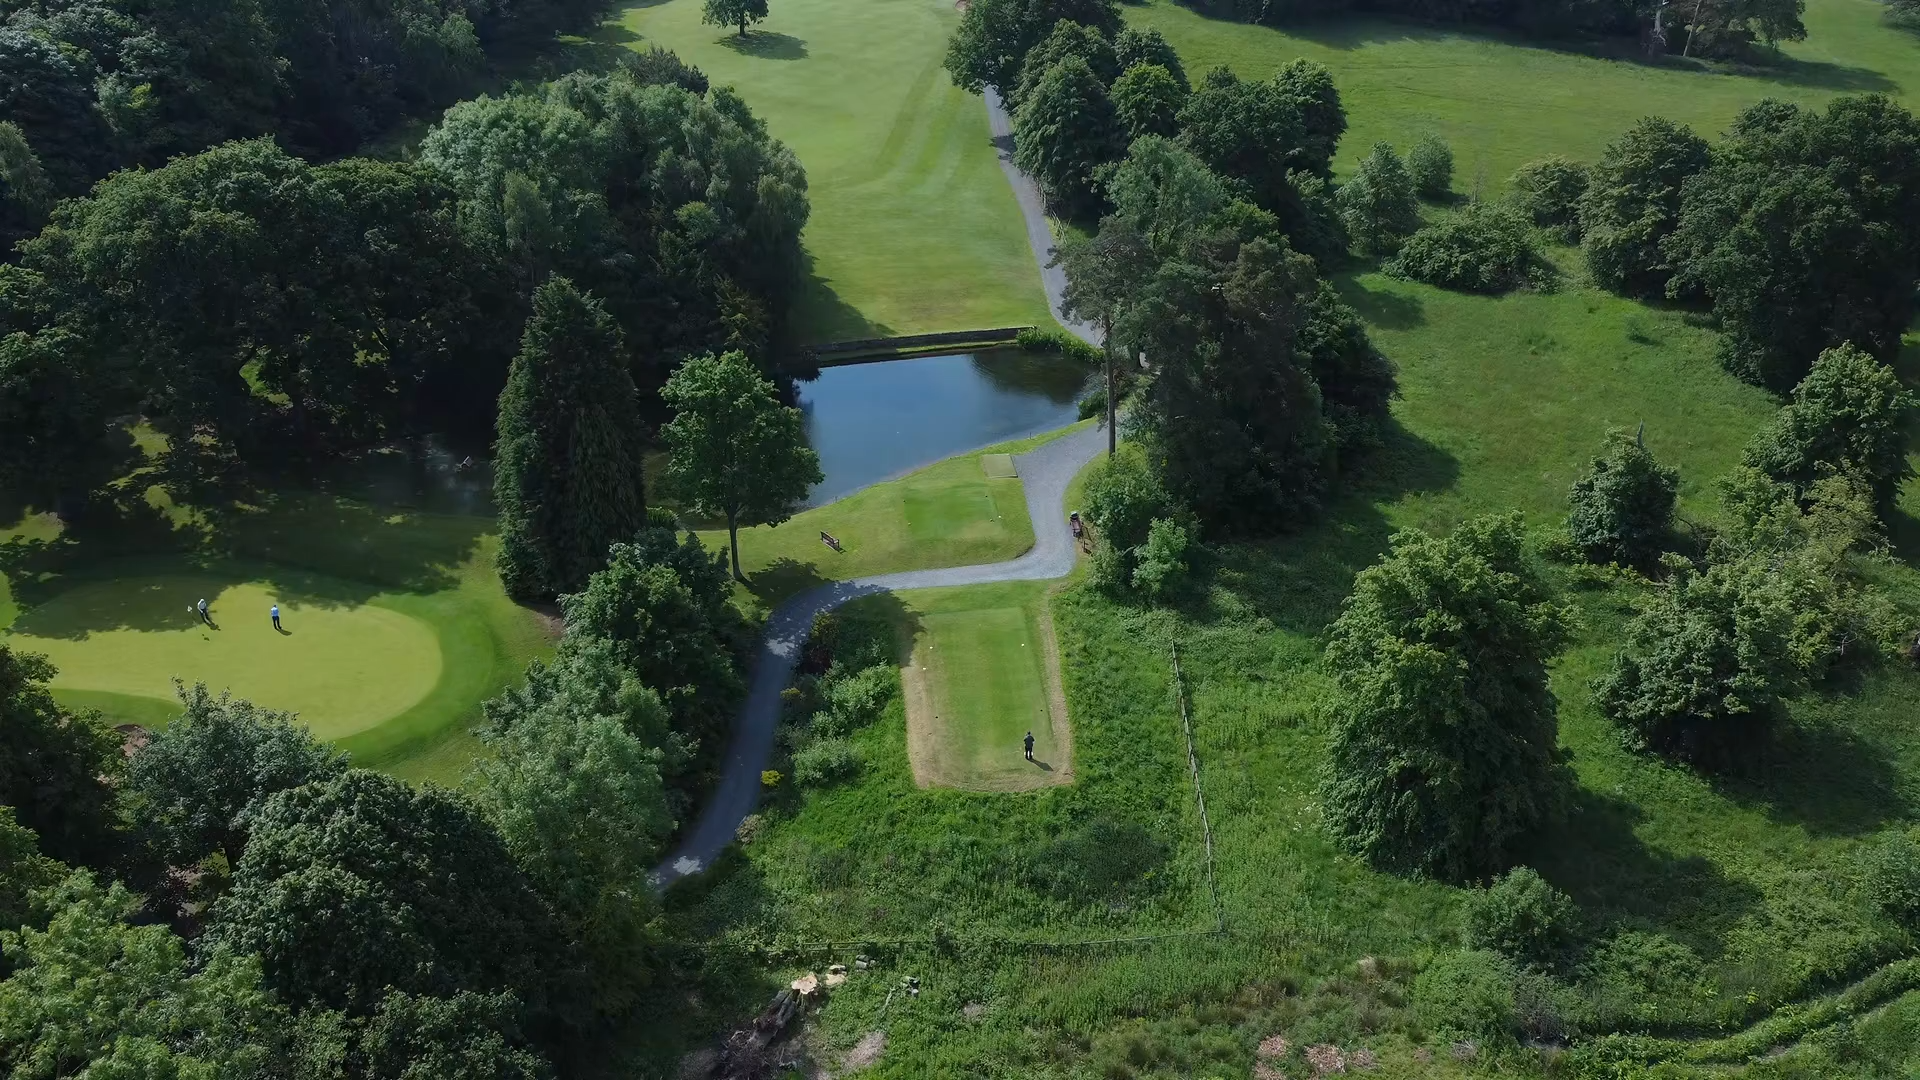
Pros Tips: A tight long par 3, considered to be one of the best holes on the course. A slight fade with your tee shot will see your ball run down onto the green and give you a rare opportunity for a birdie.
Hole 13
Pros Tips: Dog-leg left. A good tee shot to the centre of the dog-leg will give you a clear second shot to the green which slopes towards you. There is a bunker front left and two on the far right.
Hole 14

Pros Tips: A decision off the tee, to play short of the fairway bunkers or if you feel brave go for the big drive to clear the bunkers. Either way you will have a straight forward shot to an elevated green. Bunkers also left and right.
Hole 15
Pros Tips: This is stroke index 1. A long dog leg left with out of bounds on the right. Good tee shot is required to get to the top of the dog leg, but be careful of the bunker top right. If you are short with your tee shot you will be blocked out by the trees on the left, so play a second shot to the top of the fairway which will give you a straight forward shot to the green. If you are successful with your tee shot you will be left with a long second shot to a tiered green with a bunker front left.
Hole 16
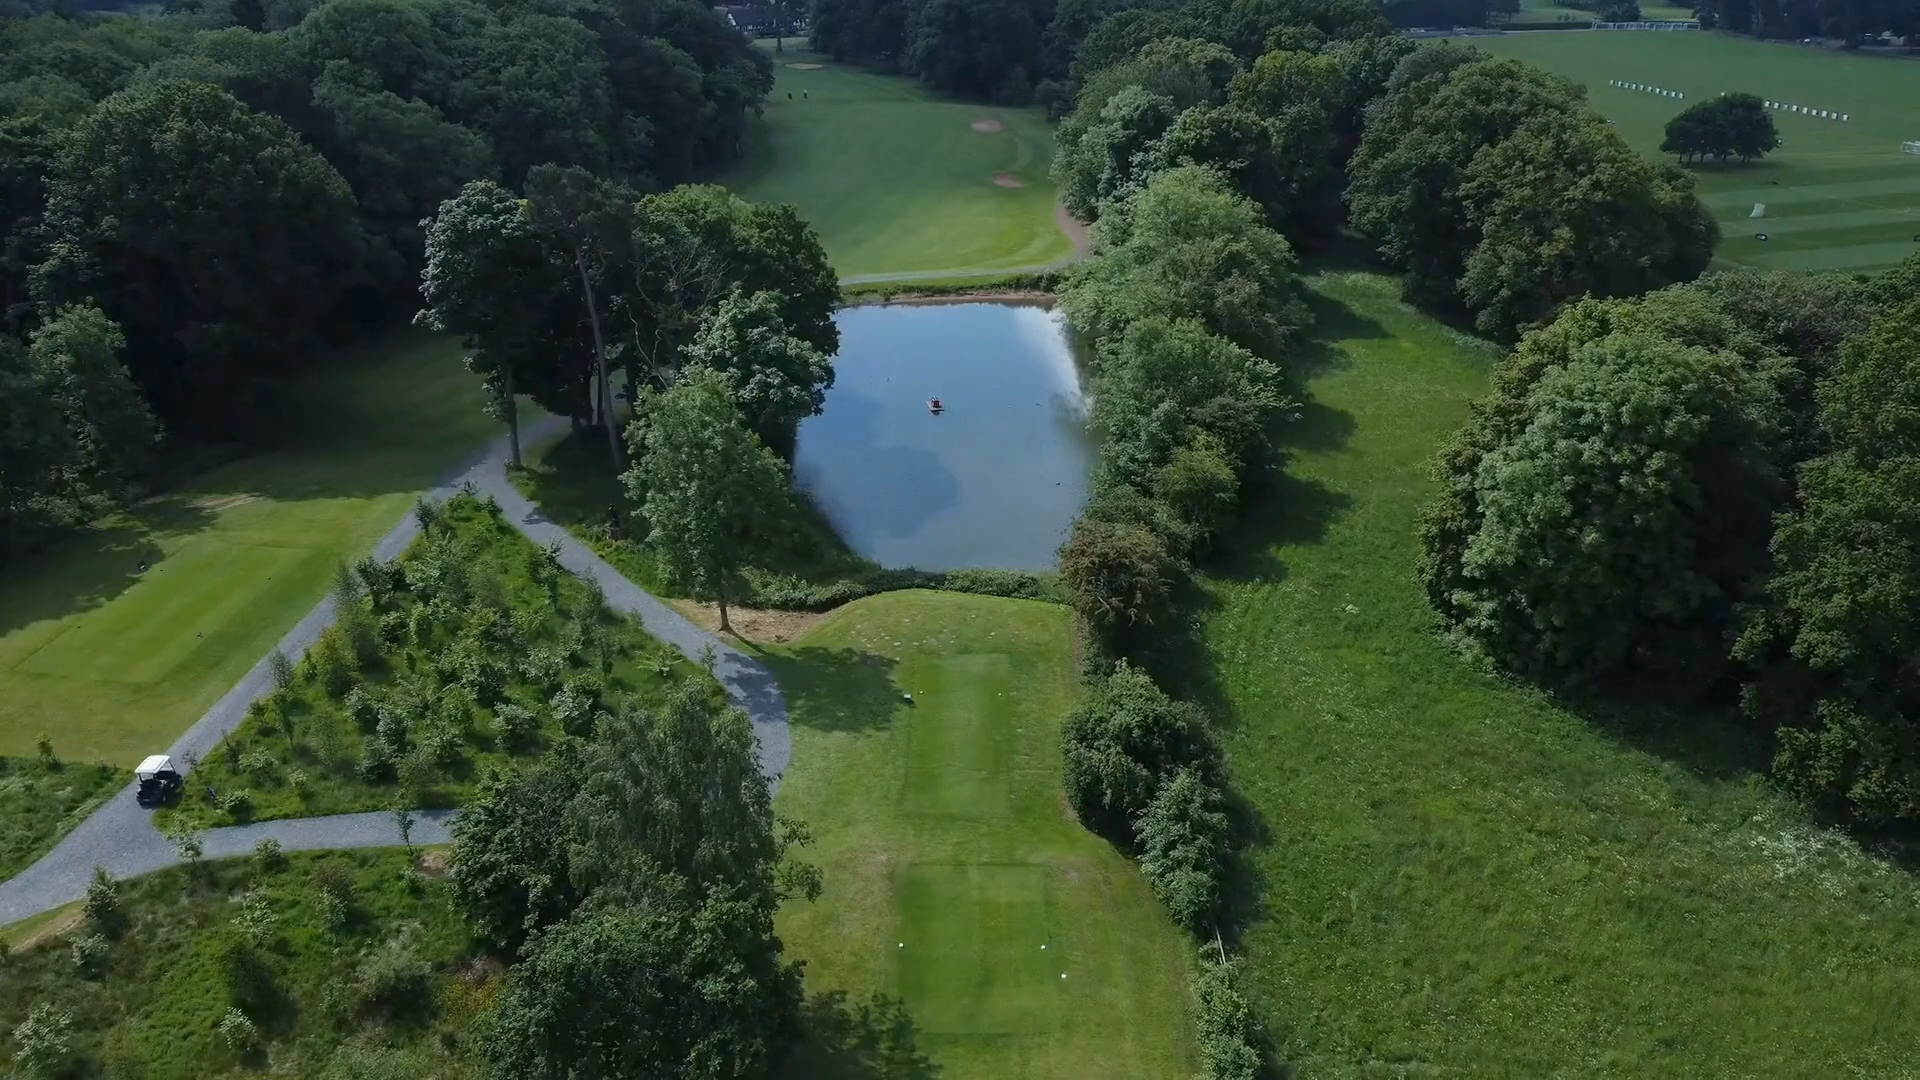
Pros Tips: The last par 3 on the course and quite a difficult one. The green slopes from back to front, so be careful with your tee shot. Try to leave yourself with an uphill putt. If you are top side of the hole you could very easily 3 putt.
Hole 17
Pros Tips: A blind tee shot, so your line will be, between the large tree on left and the two fairway trees. There are 3 bunkers to catch you out on the right. A good tee shot will see you have a straightforward second shot to the green.
Hole 18
Pros Tips: There are two tee positions for this hole. The left hand tee makes it a dog-leg left and a good tee shot to the centre of the fairway will give you a clear second shot to the green. There is a bunker on the far right. The men’s competition tee on the right is over water and gives you clear view of the green. There is out of bounds along the right hand side, and a fairway bunker on the right. A good positive tee shot will reward you with an easy second shot to the green.